Showing posts with label Glass etching. Show all posts

Sunday, September 20, 2020

Glass and Metal Etching

 Now that the "mask-a-pade" is over, I'm getting to play around with some of my other craft hobbies. I haven't done etching in about 6 years so I had to go back and review everything. This particular etching is done with an Air Eraser, not cream. It gives a deeper etching to the glass. These are a few gifts that I have made.

   This is etching on black metal

I was afraid to do this decanter as it was for an acquaintance,  but I put on my big girl panties and went for it.    I think it came out pretty good.
Another view
The back is personalized

Wine Glass
I used this for practice before I began.

Have an awesome day!!
~Danita~


Friday, June 13, 2014

Glass etching with an Air Eraser

Hello all. I hope you're having a wonderful day. This is my Design Team post this month for She's A Sassy Lady.

I will attempt to show you how easy it is to etch glass with an air eraser. It's not hard at all, once you get the hang of it.  Below is just a few of the glasses that I did for my cousin. She and her fiance will be giving these out to the groomsmen, as gifts. #cricut #imadeit
Here's what you need:
1. Air Compressor
2.  Air eraser
3. Aluminum Oxide


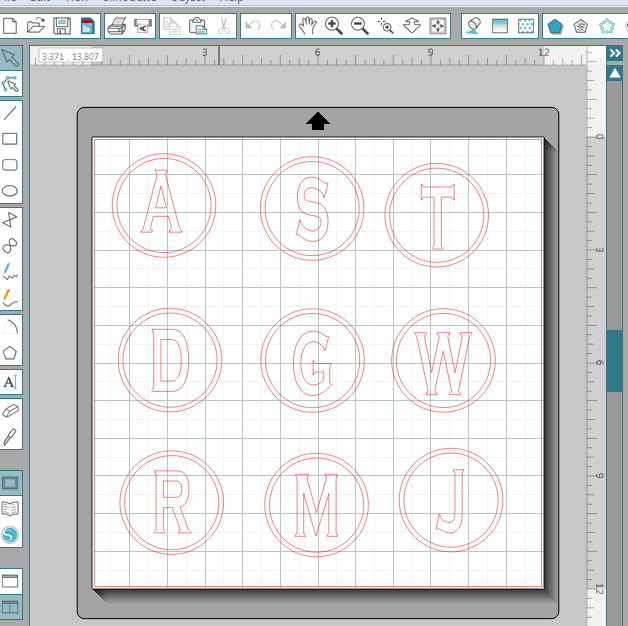
Now that you have your supplies, you will need to cut out your pattern on you Die cutting machine. I used my Cameo. I find it best to use vinyl, but some people use clear contact paper. I just can't see what I'm doing with the clear contact paper. You may be able to use a printed or solid contact paper. Play around with it and see what works for you.
  
Once you get the pattern cut out, you will use the negatives and apply to the glasses.
Then you wan to tape off any parts of the glass that you don't want to etch:


 Now here's the setup


You can find list of how to make this homemade cabinet here I got this information from one of the Facebook groups I'm in.  I just decided to change it up a bit and go with the clear plastic instead of the top. I personally think you can see better through the clear plastic. I use clips to hold the plastic in place, or you can use clothes pins. Oh, and you need a face mask for sure. You do not want to breathe in the oxide! I also wear gloves, but many of my friends do not and have had no problems. I also wear goggles.

 I place foil in the bottom of the cabinet to collect my oxide for re-cycling. Yes you can re-cycle, but be weary of debris. 

I used the Paasche Air Eraser kit from Amazon:

Then you fill up the cup on top of the eraser. This is the only frustrating part. The cup is so small, you have to keep filling it up.
*Note this is not my picture, my pictures were lost.


I set my compressor to 75 - 80 PSI.
Then it's time to blast away!!!
It's best to do the erasing in the day time so you can "see" what you have done.
 When finished you want to wash off the excess oxide and remove the tape.
Your vinyl will still be in tack and that's okay. You will began to peel it away once you have all the oxide rinsed off.
End results:


Thanks for looking and I hope I have encouraged you to try Air Erasing, but fair warning....It is addicting!!


Monday, January 6, 2014

Air Erasing

Here are pictures of the last few mugs I made over the holidays:

This one is for the minister in the family. I love it! (forgive the finger prints)

The back has a Bible verse on it,  Romans 12:12
I added a silhouette of a man praying.


This one is for my Brother-in-law.  The initial of his last name and his first name on the other side.


Wine glass front:
 Wine glass back


Sunday, January 5, 2014

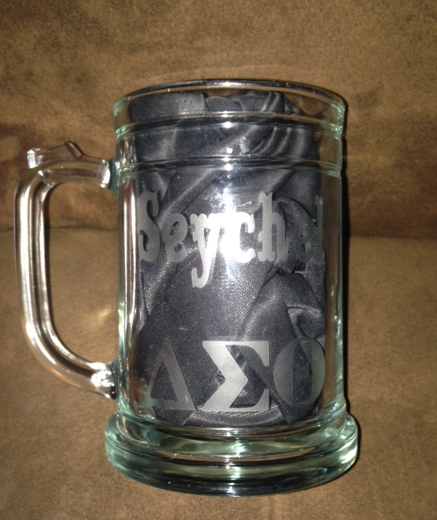
Glass etching/ Fraternity and Sorority Mugs

Here a few more of my projects done with my Air Eraser:
This is my cup, Zeta Phis Beta Sorority, Inc.  I made one for myself and my sister.


This is for my husband. I also made one for our Uncle. Kappa Alpha Psi Fraternity, Inc. 

This one is for our Aunt, Alpha Kappa Alpha Sorority Inc.


I gave this one to my daughter before I took a picture (big mistake)and trying to get her to a decent photo was painful!!!  lol  Anyway, here it is:

Friday, January 3, 2014

Glass Etching with an Air Eraser

Happy New Year to All!!!

I've been busy playing around with my new toy, an air eraser!!!  Yep. I had it since June and was too intimidated to use it. I joined a Facebook group and through their encouraging words, I gave it a try.
I love it!!! I churned out 25 glasses for my family over the holiday break. The men got the tall glasses and I made some smaller ones for the ladies.

(List of supplies needed for air erasing at the bottom of this post)

Here's some of my projects:

This is for my Father-in- law, front and side view. Some of you may remember my post about his little "tavern" he set up in his back yard for family and friends to hang out.The ceiling is made of old fishing rods and reels.  It's actually pretty cool.


Here's the back


Here's my Mother-in-laws (front)

The back


Thanks for looking!!

My Air Eraser Supply list
Here’s what I have for Air Erasing. I hope this helps. What you need may vary on what compressor or Air Eraser you have.  This works for me.

Master Air Erasing kit from Amazon
It has the moisture trap built into the hose


Porter Pancake Compressor from Amazon


Air compressor starter kit from Harbor Freight
(for the couplers)


This is how mine is hooked up from the AE to the hose


From the hose to the compressor

Here’s the Grit I use from HF. I found it to better than the stuff that comes with the AE. It’s like $9.99.