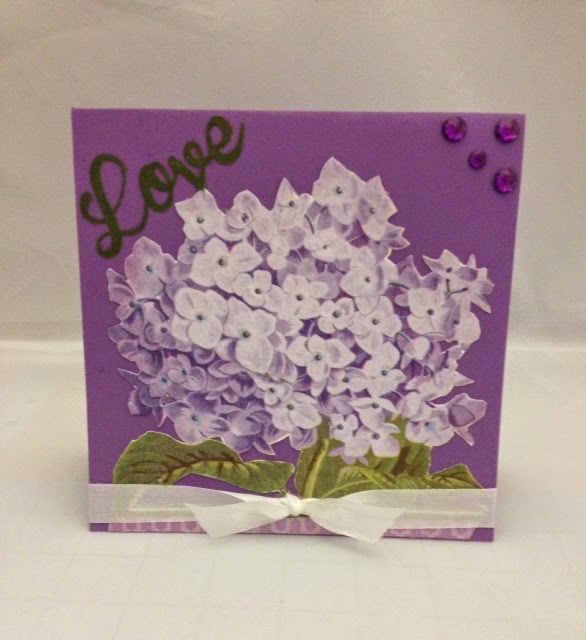
The latest craze is now the Napkin Card. It is simply, as stated, greeting cards made with napkins. I have seen some beautiful cards made with this method and thought I would give it a try but I had 2 challenges:
1. Finding decent looking napkins and
2. the videos I watched were much too complicated/time consuming for me and
AIN'T NOBODY GOT TIME FOR THAT!.
I set out to find my own method, quicker and easier (to me anyway). Here's the 1st card I made:
and here's how I did it:
Select your napkins
Then separate the layers. Most will have two or three layers
Cut out the portion of the napkin you want as the front of card, in this case, I wanted the front and the back of the card to be covered so I opened the full napkin and then I cut a piece of 12 x 12 cardstock in half. (keep both pieces, I'll tell you why shortly)
Lay your napkin over the card stock, leaving at least 1/4 edge all around then trim away the excess.
I used the Sparkle Modge Podge . Side note....I won a huge basket of every type of Modge Podge made at the Michaels Gold Card event ( held years ago) and now I can finally use some. I have enough #Modge Podge and acessories to last me the rest of my life! Okay back to my post, I rolled the Modge Podge completely over the full length on the card stock, then carefully place the napkin on it.
I let it set for a few minutes (dries fairly quick) then I used my ATG gun around the edges to secure the napkin, You don't have to, I just suck at trimming! lol
This is why I think you need the other half of the card stock. The Modge Podge made the napkin top a little filmsy ( I may have put too much down) and I like my cards sturdier so I attached it to the card base. Press the two pieces together firmly to make sure they stick.
I like using the Modge Podge because it gives the napkin a 'canvas-like' feel and is really pretty
Here's the front and back of the card.
I added a little glitter to front just because I like bling!
Close up.
Add a sentiment to the front and inside and that's it! Simple!
Thanks for stopping by!